How Are Oat Cookies Made?
From rolled oats to golden, chewy treats.
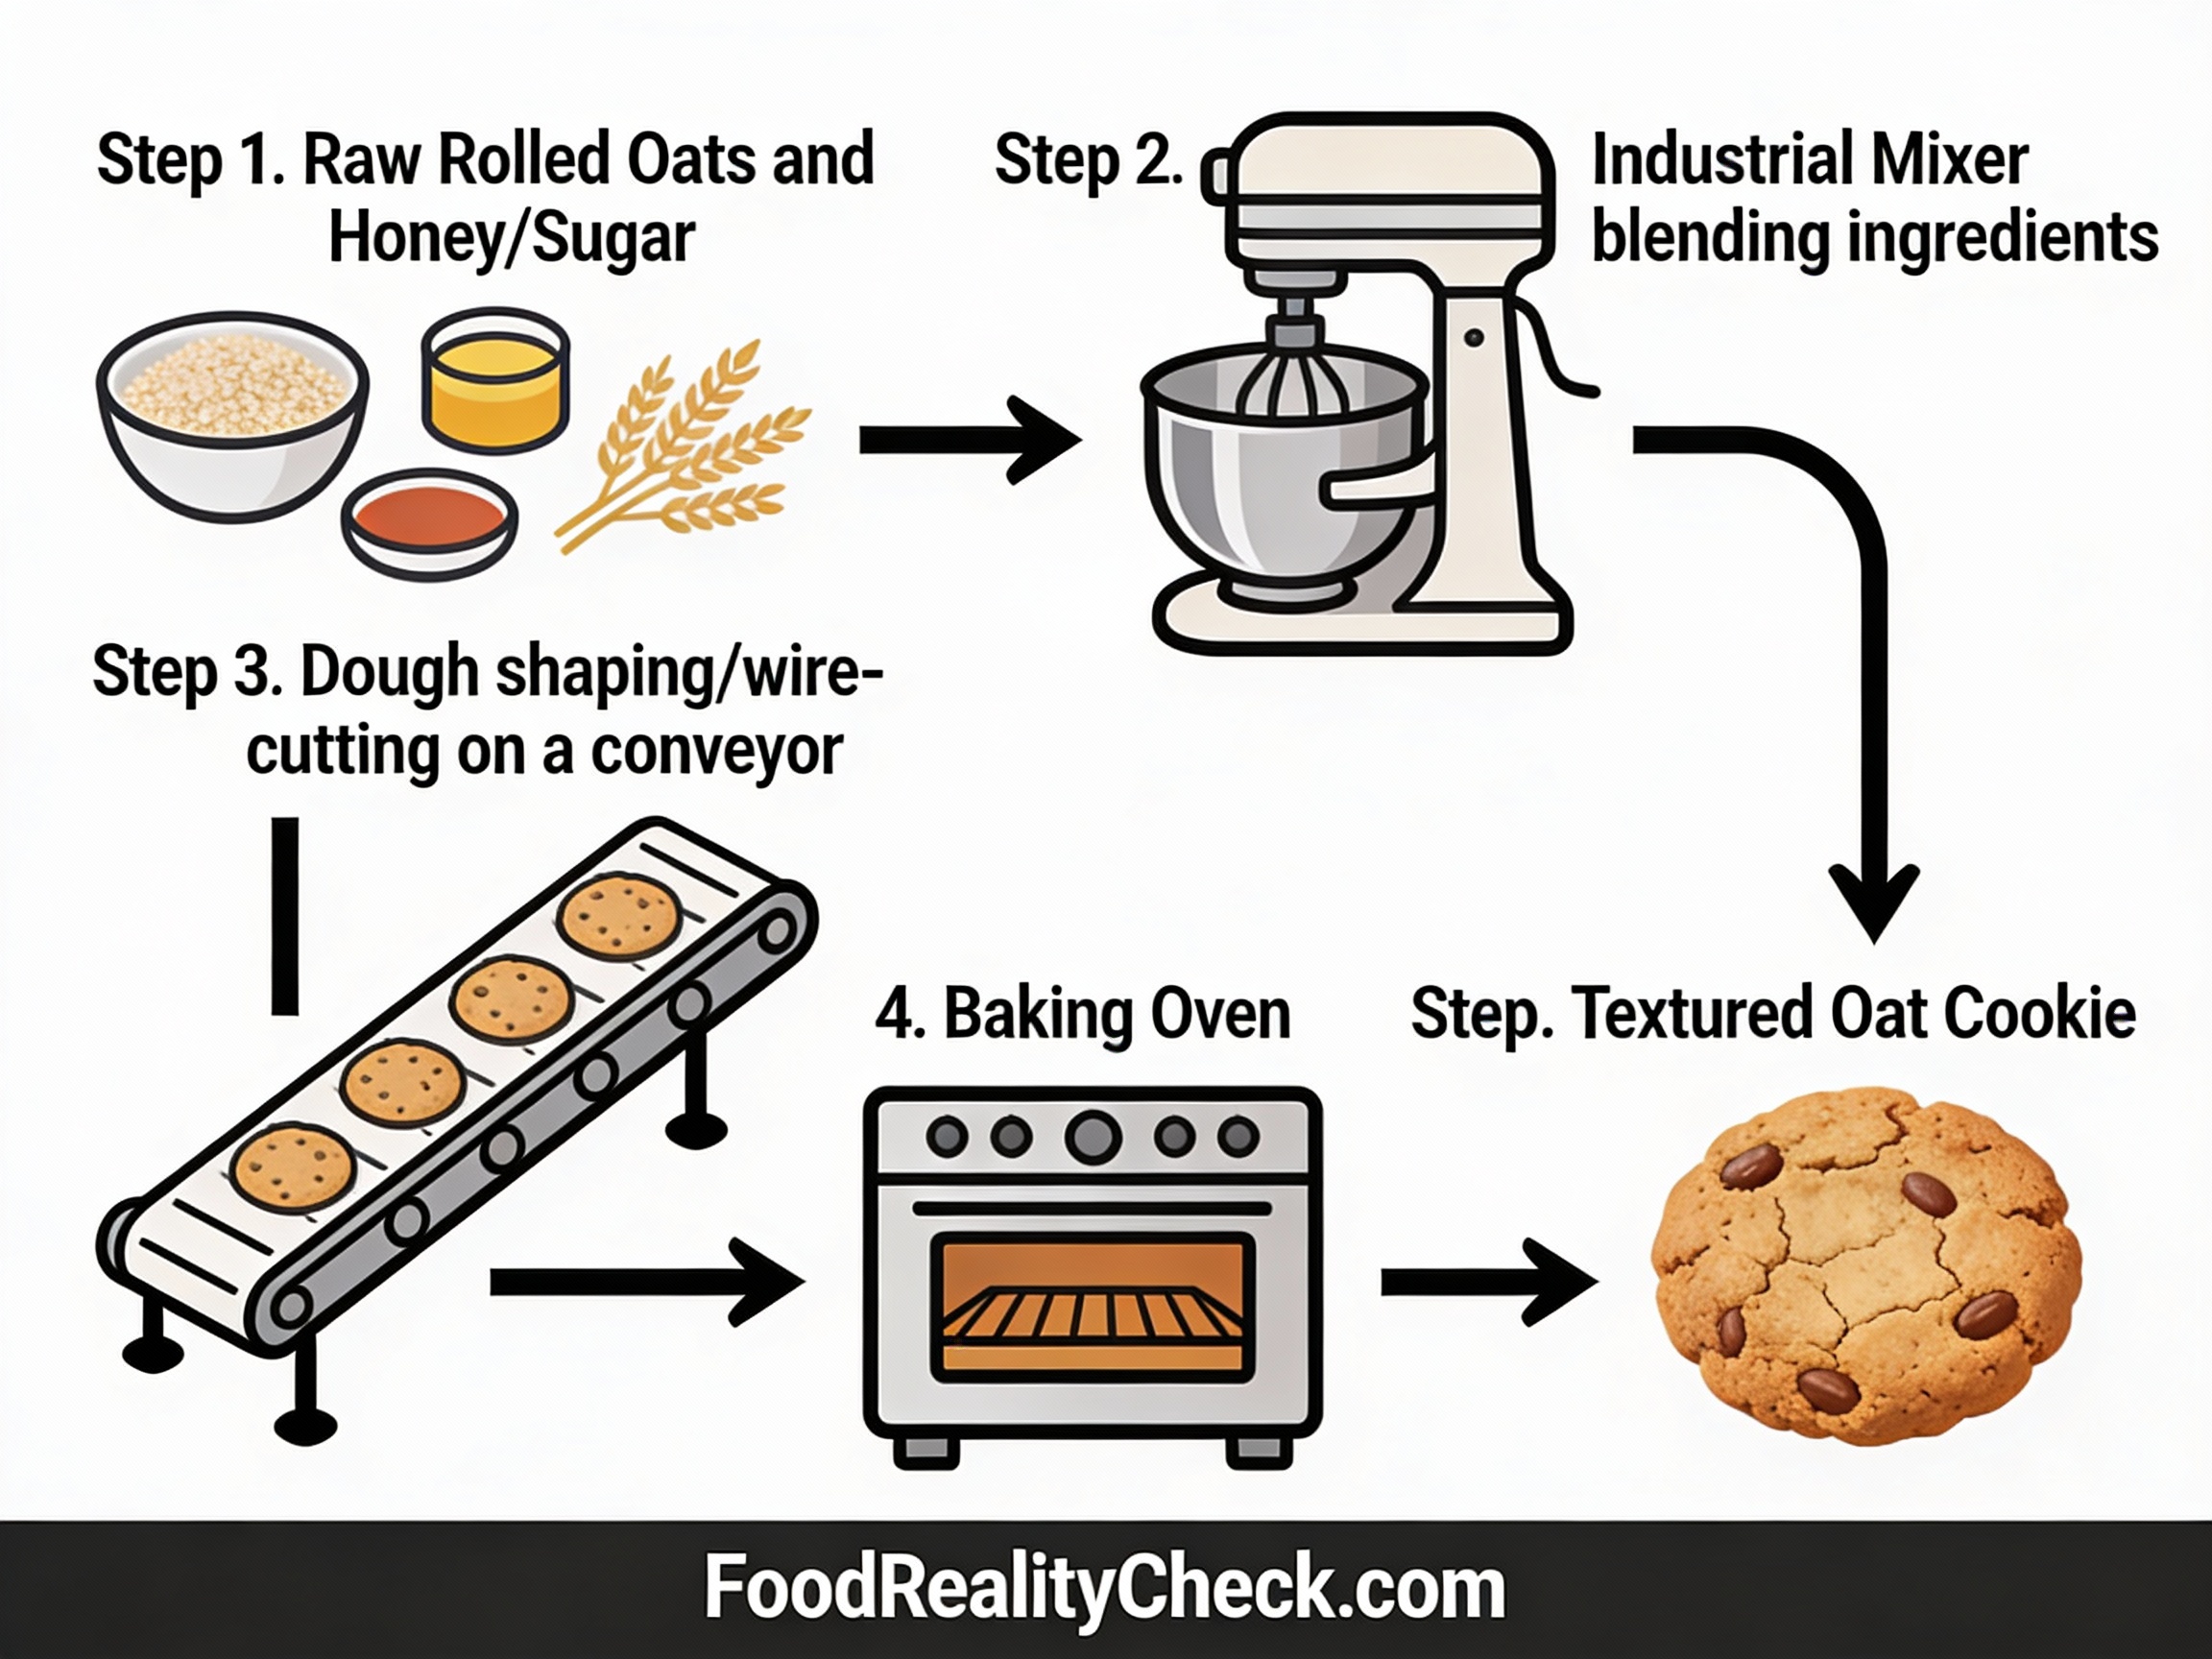
The Overview
Oat cookies are a simple yet satisfying baked good that combines oatmeal, butter, sugar, and flour into a chewy or crispy treat.
The process relies on creaming fat and sugar, precise dough mixing, controlled baking temperatures, and careful timing to achieve the perfect balance of crispy edges and soft centers.
Here’s exactly what happens from raw ingredients to finished cookie.
🥘 Main Ingredients
• Rolled oats (old-fashioned or quick oats)
• Butter (softened)
• Brown sugar and/or granulated sugar
• All-purpose flour
• Egg(s)
• Baking soda
• Vanilla extract (optional)
Step 1: Ingredient Preparation & Room Temperature
All ingredients, especially butter and eggs, are brought to room temperature (70-72°F / 21-22°C).
Room temperature butter creams more easily with sugar, creating air pockets that make cookies tender and light.
Cold butter is difficult to blend and produces dense, tough cookies instead of the desired fluffy texture.
Step 2: Dry Ingredient Mixing
In a separate bowl, flour, baking soda, salt, and optional spices (cinnamon, nutmeg) are whisked together.
Whisking distributes the leavening agent (baking soda) evenly throughout the flour, ensuring consistent rise across all cookies.
This dry mixture is set aside and kept separate to prevent overdevelopment of gluten, which would make cookies tough.
Step 3: Creaming Butter & Sugar
Softened butter is beaten with brown sugar and granulated sugar at medium-high speed for 1-3 minutes.
Creaming incorporates air into the butter, creating tiny bubbles that expand during baking and produce a lighter, more tender cookie.
The mixture should look pale, fluffy, and nearly doubled in volume when complete.
Step 4: Egg & Flavor Incorporation
Beaten egg and vanilla extract are added to the creamed butter and sugar, beating for another 1 minute at medium-high speed.
The egg acts as a binder and leavening agent, helping cookies rise and set properly.
Beating in the egg ensures even distribution and creates a uniform, smooth batter.
Step 5: Dry Ingredient Integration
The reserved dry ingredients are added to the wet mixture in 2-3 parts at low speed, mixing just until combined after each addition.
Overmixing at this stage develops gluten, which makes cookies tough and cake-like instead of tender and crumbly.
The goal is a cohesive dough with no visible streaks of flour—no more.
Step 6: Oat Addition
Rolled oats are folded in at low speed or mixed gently by hand until evenly distributed throughout the dough.
Optional add-ins like chocolate chips, raisins, nuts, or dried fruit are mixed in at this final stage.
The dough is now complete—thick, chunky, and ready for refrigeration or portioning.
Refrigeration & Portioning
Step 7: Dough Chilling (Critical Step)
The prepared dough is covered and refrigerated for at least 30 minutes to 1 hour (longer chilling up to 24 hours is fine).
Cold dough spreads more slowly during baking, allowing cookies to set before flattening—resulting in thicker, chewier cookies with better shape definition.
Chilling also allows flavors to meld and improves the structural integrity of the baked cookie.
Step 8: Oven Preheating
The oven is preheated to 350-375°F (175-190°C) for 15-20 minutes before baking begins.
Oven temperature is critical—too low and cookies spread and become hard; too high and edges burn before centers cook.
Modern commercial ovens use convection (air circulation) to ensure even heat distribution, allowing multiple trays to bake simultaneously.
Step 9: Cookie Portioning & Shaping
Chilled dough is portioned using a cookie scoop (typically 1-2 tablespoon increments) and placed on parchment-lined or silicone baking mats.
Cookies are spaced 1-2 inches apart to allow for spreading and air circulation during baking.
Dough balls are gently flattened with a fork or the bottom of a glass to a consistent thickness, ensuring even baking.
Baking: The Critical Heat Phase
Step 10: Baking at Controlled Temperature
Cookies bake at 350-375°F (175-190°C) for 8-15 minutes, depending on size, oven type, and desired texture.
During baking, several chemical reactions occur: sugar caramelizes, proteins coagulate, starches gelatinize, and the Maillard reaction creates brown color and complex flavors.
Baking soda reacts with acidic components (brown sugar contains lactic acid), releasing CO2 gas that creates air pockets and lifts the cookie.
Step 11: Visual Doneness Indicators
Cookies are done when the edges are golden brown and the centers appear just barely set but still slightly soft to the touch.
Oat cookies continue to cook slightly after removal from the oven (carryover cooking), so they should be slightly underbaked when removed to prevent hardening.
An instant-read thermometer inserted in the center should read approximately 190-200°F (88-93°C) for optimal texture.
Step 12: Pan Resting & Cooling (First Phase)
Baked cookies are left on the hot baking sheet for 3-5 minutes, allowing them to firm up enough to handle without breaking.
This resting period allows the structure to set through cooling while residual heat completes the baking process.
After 5 minutes, cookies are carefully transferred to a wire cooling rack for complete cooling.
Step 13: Complete Cooling & Texture Setting
Cookies are cooled on a wire rack for 10-30 minutes until they reach room temperature and fully set.
During cooling, the interior firms up, proteins continue to set, and any remaining moisture redistributes evenly throughout the cookie.
This ensures the final texture is stable—crispy edges with chewy centers, or fully crispy depending on baking duration.
Storage & Quality Control
Step 14: Packaging & Storage
Cooled cookies are stored in airtight containers (often with parchment paper between layers) to maintain texture.
Proper storage preserves the crispy-chewy balance for 5-7 days at room temperature, or up to 3 weeks in the freezer.
Commercial products may be wrapped individually and packaged in boxes for retail distribution, with shelf-life of 4-6 weeks depending on preservatives.
Why This Process?
Creaming butter and sugar creates air bubbles that produce tender, fluffy cookies with a lighter crumb structure.
Careful mixing at each stage prevents overdevelopment of gluten, which would create tough, cake-like cookies.
Dough chilling slows spreading during baking, allowing cookies to set before flattening—producing thicker, chewier results.
Precise baking temperature and timing control browning (Maillard reaction) and moisture loss, creating the desired balance of edges and centers.
What About Variations & Additives?
Oat cookies can vary dramatically based on:
• Sugar ratio (white vs. brown) – affects chewyness
• Oat type (rolled vs. quick oats) – quick oats create softer cookies
• Fat content (butter alone vs. shortening) – affects spread and texture
• Baking soda vs. baking powder – baking powder creates puffier cookies
• Add-ins (chocolate chips, raisins, nuts) – add flavor and texture variation
Commercial producers may add:
• Emulsifiers (soy lecithin) – for consistent texture
• Preservatives (potassium sorbate) – to extend shelf-life
• Modified starches – for texture control
• Dough conditioners – for consistent baking performance
The Bottom Line
Oat cookie production is a straightforward yet precise process that combines creaming, careful mixing, dough chilling, and controlled baking.
The key to perfect cookies lies in room temperature ingredients, avoiding overmixing, and precise oven timing—small variables create big texture differences.
Now you understand exactly how rolled oats, butter, and sugar transform into golden, chewy oat cookies through careful thermal management and technique.